Joined: Aug 2017 Posts: 1,534 Threads: 60
Reputation:
20
(15-09-2020, 10:20 PM)dickie65 Wrote: I did 5500 Rpm in fourth gear on the way to work at 6.30 this morning. ( Car has electrical rev counter in place of petrol gauge.)
3.25 x 19" tyres with modern sports ratio back axle.
I managed to hold 6000 Rpm in third on a long uphill as well.
The new radiator and four blade fan did the job well.
It all depends how low a modern ratio you have in there.
Some are very low!
C
Joined: Aug 2017 Posts: 782 Threads: 26
Reputation:
8
Location: On a hill in Wiltshire
I find that persistent, repeated, small movements often sort something like that.
You need patience, and the belief that although nothing is happening for a long time, eventually something will give.
Can you get something like a jubilee clip with a rubber interface on body and/or rim, to get you a bit more purchase?
Joined: Aug 2017 Posts: 849 Threads: 123
Reputation:
1
I will give it a try....The freeze spray used by plumbers was suggested. Perhaps on the body & really hot water on the rim....?
I'll let you know...one at least has to be opened up for a bulb change......
David
Joined: May 2018 Posts: 2,954 Threads: 558
Reputation:
20
Location: Peak District, Derbyshire
Car type: 1929 Chummy, 1930 Chummy, 1930 Ulster Replica, 1934 Ruby
(15-09-2020, 08:46 AM)David.H Wrote: I have tried to separate the housings from the rims of my rear lights (small round pattern with faceted glass lens) No doubt it is a mix of paint and corrosion, but they are not items to apply much heat to, not can they be gripped in a vice or with giant Sttillsons.....Soaking in penetrating fluid has not had any effect, not careful scraping around the outside visible join. One still has a rubber gasket retaining the lens, the other lens is loose. from a 1929 RK saloon I read on a USA forum (I can't find it now) that this is effective: https://www.bearings-online.co.uk/item/2...gK2EfD_BwE
Joined: Jun 2018 Posts: 518 Threads: 90
Reputation:
1
(16-09-2020, 07:20 AM)Jamie Wrote: Thank for the advice and suggestions on cleaning the bearings. I shall pop them in for a short while for a couple of times, turning them between times to expose different areas. I was going to dry them with a fan heater.
Jamie.
Well, that made precisely no difference at all. Both bearings are still as rough, so it seems not to just a bit of grit somewhere. Oh, well. It was worth a go.
Jamie.
Joined: Aug 2017 Posts: 738 Threads: 13
Reputation:
5
Did you oil the bearings before you tested them, many a good set has been thrown out because they rattled when clean and dry.
Joined: Jun 2018 Posts: 518 Threads: 90
Reputation:
1
(17-09-2020, 08:06 PM)dickie65 Wrote: Did you oil the bearings before you tested them, many a good set has been thrown out because they rattled when clean and dry.
I had wondered the same but, sadly they were the same oiled. One is just very rough, the other sticking repeatedly in the same spot. The centre shells, though, are fine.
Regards,
Jamie.
Joined: Aug 2017 Posts: 2,748 Threads: 31
Reputation:
95
Location: Auckland, NZ
Hi Jamie
i doubt if main bearings ever fail by conventional pitting but even so any such failed bearings are not obstructed from rotating. To do so clearance has to somehow decrease. Very old long unused rusted bearings may obstruct. But where there is resistance it invariably proves to be a flake of gum or somesuch rolled into the track or a brush bristle or somesuch. In the right light all ball and track surfaces can be examined. Should be no dents, pits, rust, or rolled out dirt. Can often remove any crushed paint or gum with a pin.
Joined: Aug 2017 Posts: 1,641 Threads: 93
Reputation:
15
Location: Monmouthshire


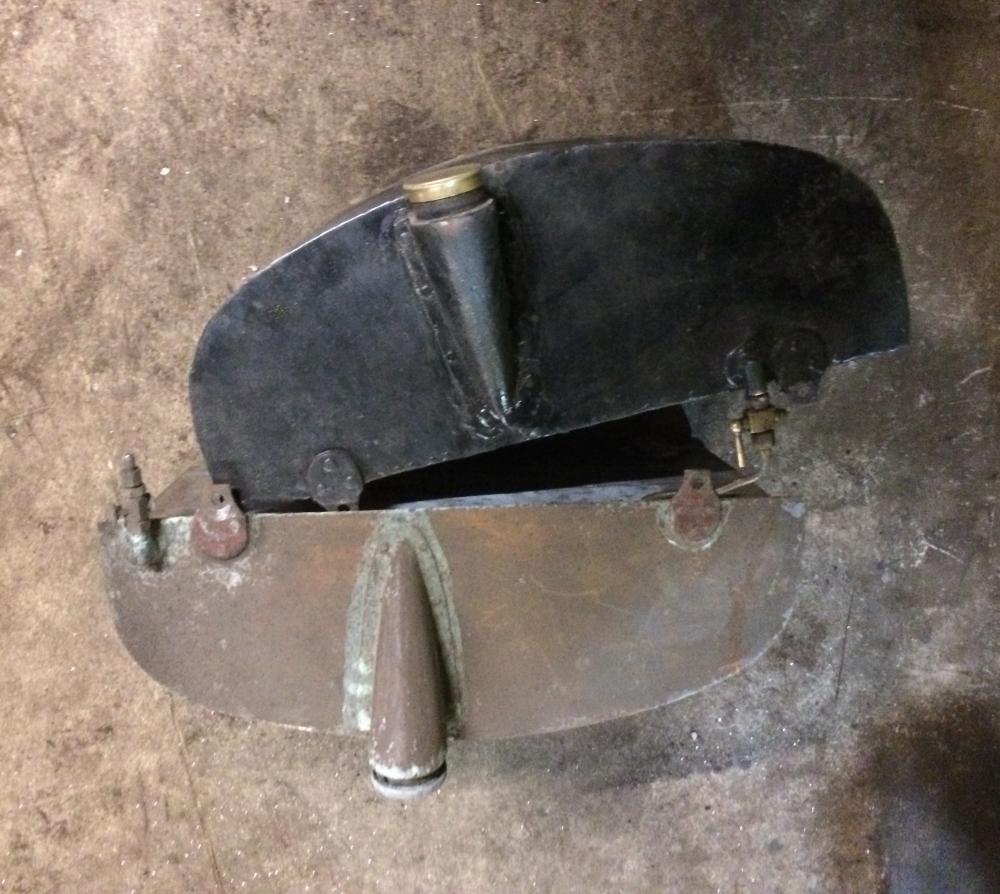
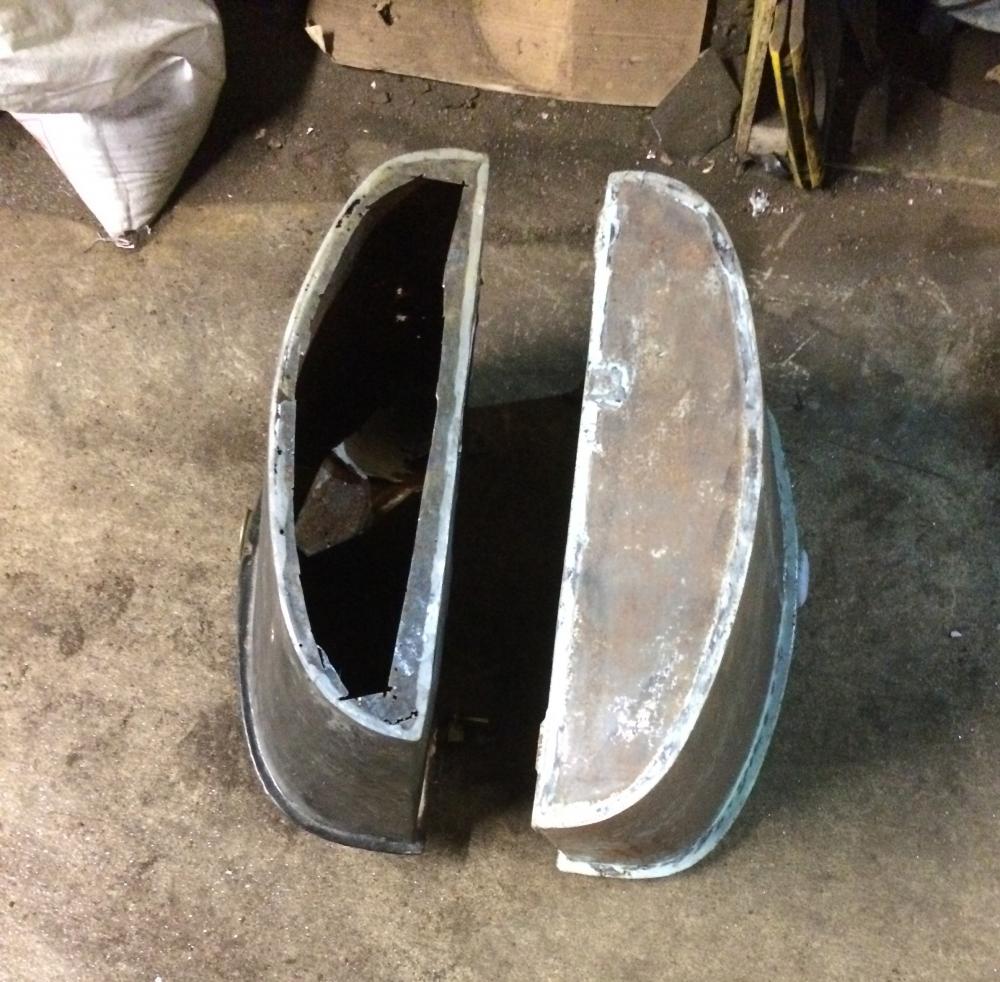
Ooops, there I was at Hereford Radiators and by chance I nearly picked up the wrong scuttle tank. Fear not, Martin, I was soon put right.
Joined: Aug 2017 Posts: 3,005 Threads: 168
Reputation:
37
Location: Sherwood Forest
Car type: 1938 Talbot Ten Airline
18-09-2020, 08:26 AM
(This post was last modified: 18-09-2020, 08:26 AM by Mike Costigan.)
Interesting to compare the two: one with a screw-cap filler on the right-hand side, with the outlet inboard of the mounting, the other with a bayonet cap and left hand filler, and outlet outside the mounting. (I've just bought a new anorak!)
|


