04-02-2024, 03:28 PM
Hi all.
Some of you may remember the issue I had with the laminated wheel arch pieces that were not correct for radius and one showing a definite twist which had to be removed before it could be installed on the body shell.The first two pics show this. I had contemplated making new ones and went so far as to make a wooden clamping form that was correct for radius.
The answer was actually quite simple. It is known that hardwoods soaked in Ammonia softens them to the point that you can tie knots in them. I had used this method before when making a wood rim for a steering wheel with great success. The first issue was how the soak the two wooden arches and not have the Ammonia all evaporate and make the place un-breathable from the fumes. Second was how to limit the amount of Ammonia I had to obtain.
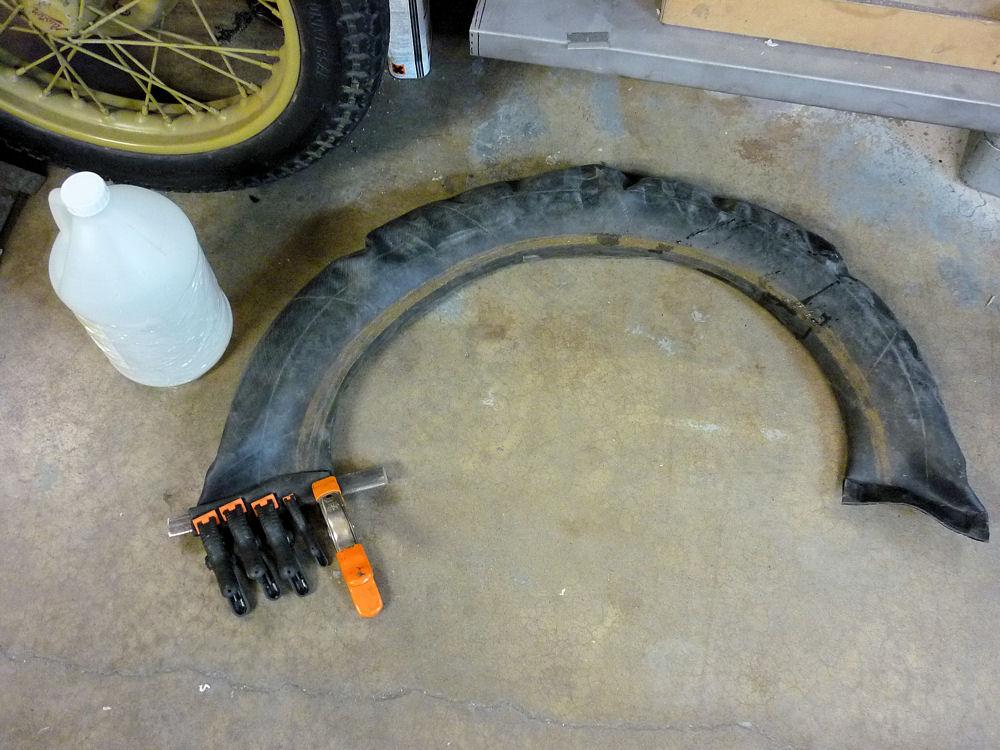
The answer to this was very simple. I cut an old inner tube in half and sealed one end. The arch was inserted in the inner tube and four litres of Ammonia 10% as used for cleaning floors was pored in and the end folded and sealed. The amount of Ammonia was just right to fill the inner tube. I let the worst twisted arch soak for a week. When it was removed the twist had gone but I clamped it to the form and left it to dry out for another week just to make sure it was correct. Upon removal it was dead straight and the curved radius was perfect. The other arch was inserted soaked and is drying out on the form as I write this.
The only side effect from all this is that the wood is slightly discoloured, being a little darker than it was. The Ammonia when pored of back into the bottle is now dark brown.
I very happy with the end results and thought this method might be of interest to some of you wanting to bend some wood but don't have a steam cabinet.
Cheers,
Stephen


