26-04-2019, 09:28 PM
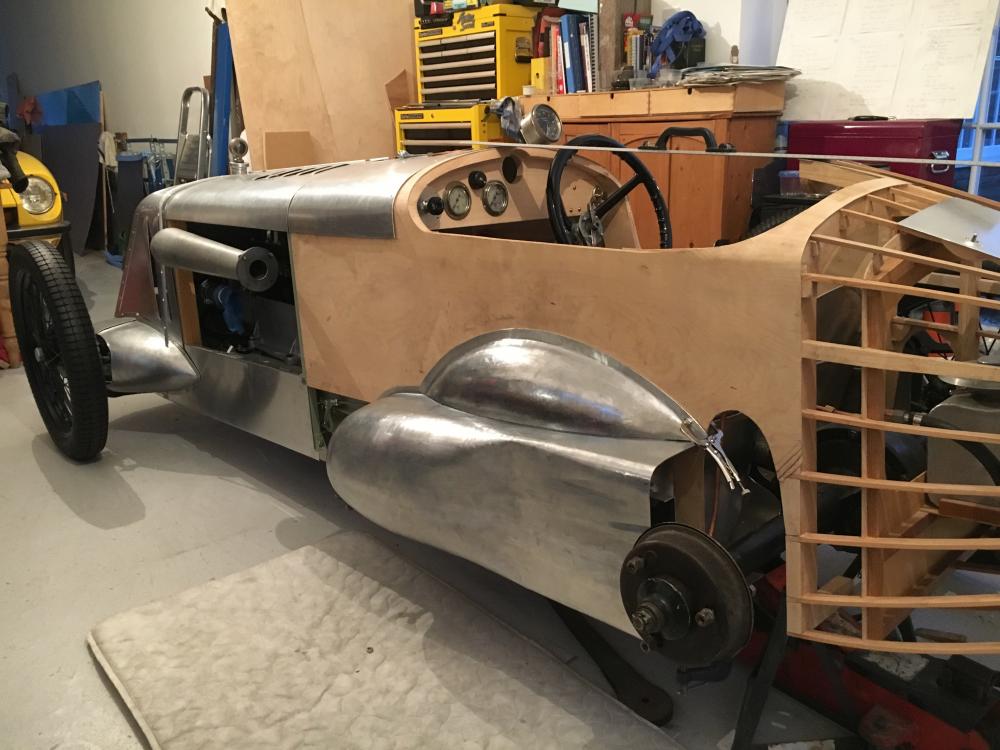
I have taken forward the offside rear spring fairing and added the mounting flange and bulge/fairing for the passengers hip.
Starting with the annealing of a suitably cut piece of 1.2mm T2 aluminium, I firstly scribble some lines onto the metal and begin heating the material, once they disappear the annealing is finished. In this picture they are just begining to fade.

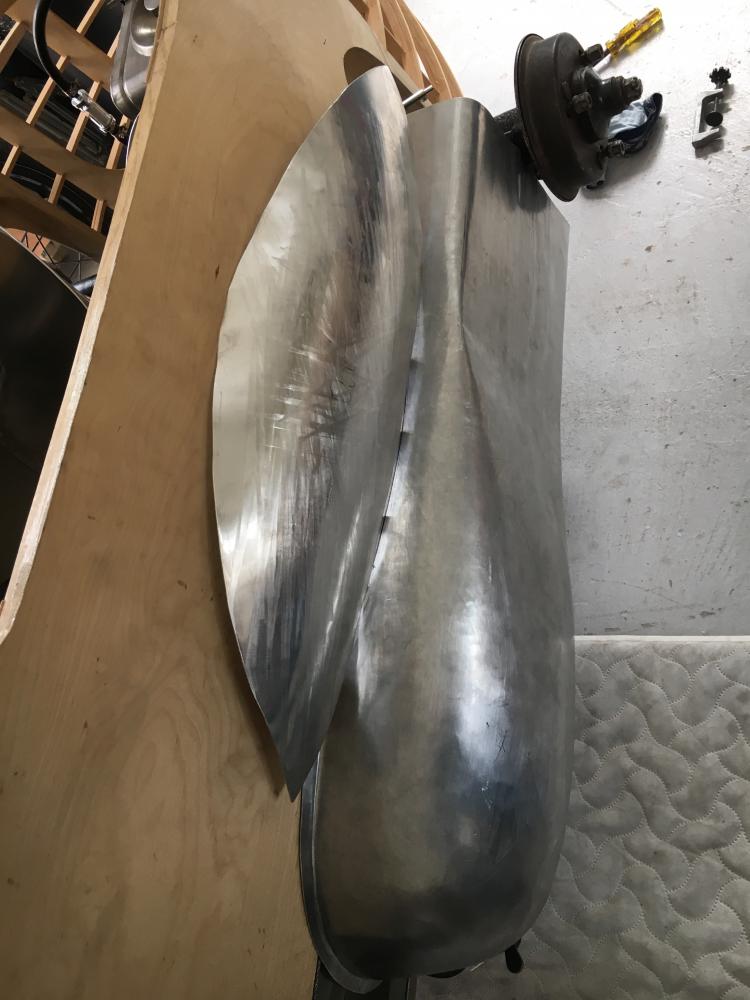
After hammering the rough shape over the shot bag and some rudimentary wheeling, the new part is offered up to the car, and te processes of evolving the shape progreses


Once the new panel looks to have the correct shape, it is trimmed to size and the flange added by marking it out then simply lining it up against the edge of a wooden block and gently introducing the bend with a small hide mallet over the hard wooden edge.
It is then offered up to the car again making sure the flange fits the curvature of the body

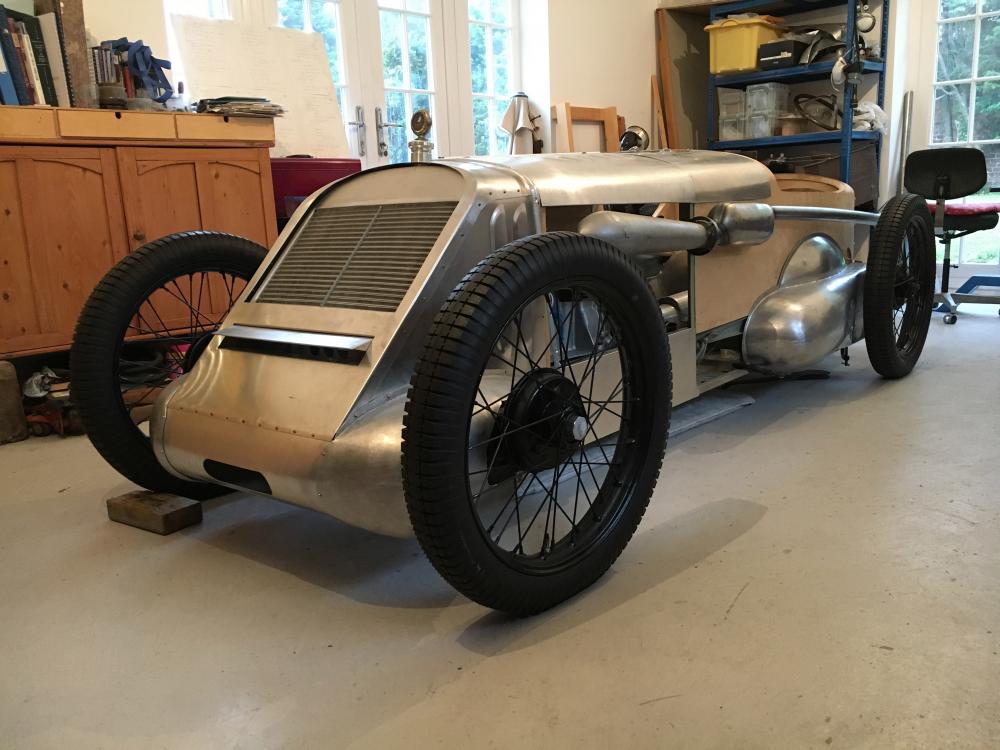
At this point it is important to stand back and asses if it is the correct size and shape, I sometimes have to go outside of the worshop to get the correct perspective on the car.

Then the delicate job of welding the two together, which as described in a previous post is done using T.I.G. with a rod, this time on the inside surface of the joint, then again welding the joint on the oposite side without a rod, which makes for a very strong weld. it also results in a very clean joint with minimal cleanup required

After all that heat and abuse, the newly welded panel is offered upto the car to see if it still fits. Remarkably this one just went stariaght in place without argument.

Next step will be to fit the new fairing to the body. which will be witha mixture of brass round head BA nuts and bolts and wood screws.
Regards, Mark.
Starting with the annealing of a suitably cut piece of 1.2mm T2 aluminium, I firstly scribble some lines onto the metal and begin heating the material, once they disappear the annealing is finished. In this picture they are just begining to fade.
After hammering the rough shape over the shot bag and some rudimentary wheeling, the new part is offered up to the car, and te processes of evolving the shape progreses
Once the new panel looks to have the correct shape, it is trimmed to size and the flange added by marking it out then simply lining it up against the edge of a wooden block and gently introducing the bend with a small hide mallet over the hard wooden edge.
It is then offered up to the car again making sure the flange fits the curvature of the body
At this point it is important to stand back and asses if it is the correct size and shape, I sometimes have to go outside of the worshop to get the correct perspective on the car.
Then the delicate job of welding the two together, which as described in a previous post is done using T.I.G. with a rod, this time on the inside surface of the joint, then again welding the joint on the oposite side without a rod, which makes for a very strong weld. it also results in a very clean joint with minimal cleanup required
After all that heat and abuse, the newly welded panel is offered upto the car to see if it still fits. Remarkably this one just went stariaght in place without argument.
Next step will be to fit the new fairing to the body. which will be witha mixture of brass round head BA nuts and bolts and wood screws.
Regards, Mark.


