12-10-2017, 10:10 AM
(This post was last modified: 12-10-2017, 10:41 AM by Athanasius Santamaria.)
Continuing on from the last post, the two halves of the floor pan were completed and work started on the prop tunnel and front fire wall.


The next stage was practicing my swaging and getting a convincing result for the front of the fire wall and the top.
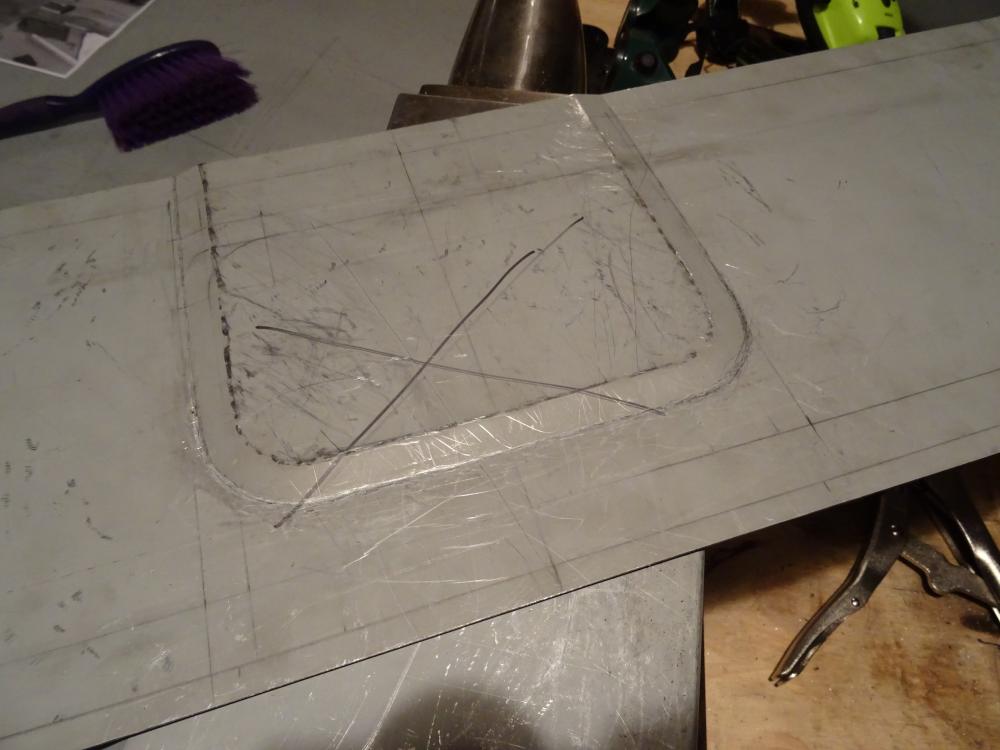

Above photo shows the top of the fire wall measured, cut out and swaging lines drawn on. This is where the petrol tank sits of course.
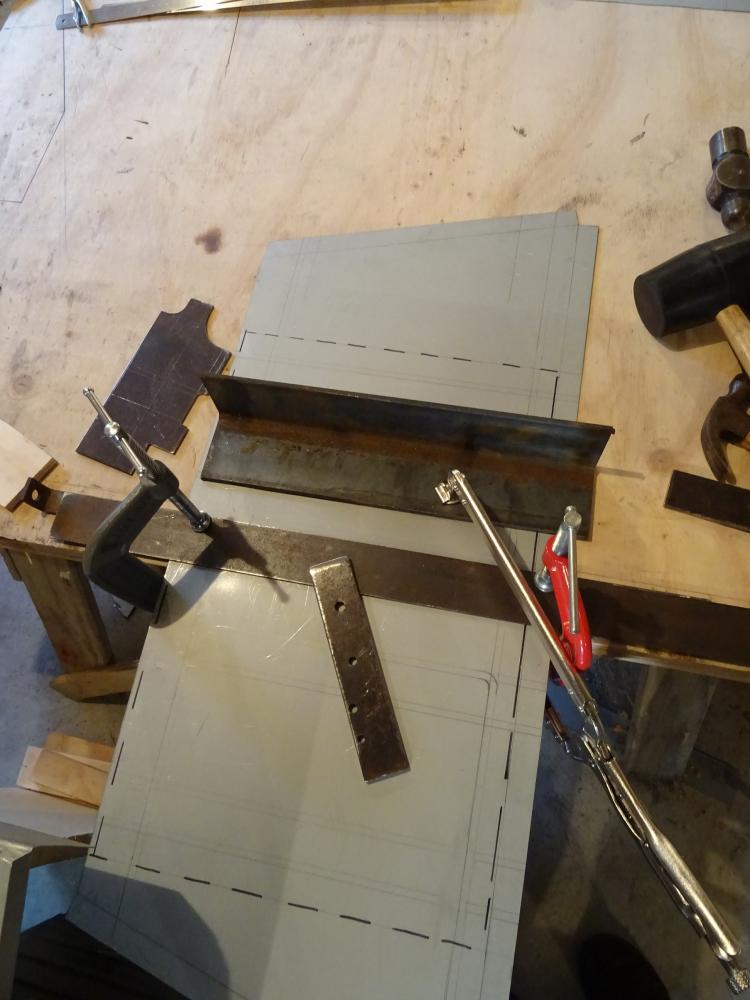
Next, the panel is clamped down and the 2mm thick steel guide is placed underneath the sheet. This follows the outside line of the swage. Its all a bit hard to see, but it makes sense in the end...
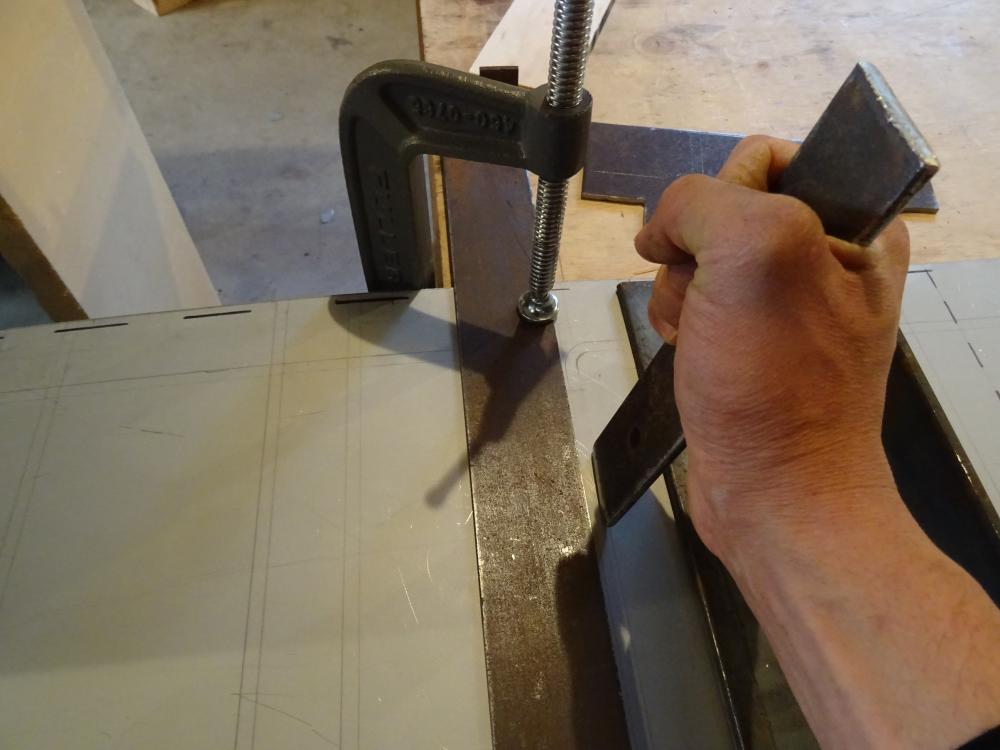
Once that is all done, you hammer along the inside line with an appropriate tool... in this case, a piece of flat bar with a edge put on. This drives the metal down and forms the "step" in the metal. You then follow the shape you have drawn, forming the full pressing.

Things are going well and dandy I thought.... but all of a sudden, my once dead flat panel is on the piss. Its all over the place and not looking to healthy. This warping factor increases with each new swage and is a result of uneven stretching. The best way I found to sober things up, was to hot shrink the problem areas. However once the rest of the panels edges were lifted general flatness returned. I should note that this took multiple goes and three failed cock ups on finished panels. You never get it right first time...
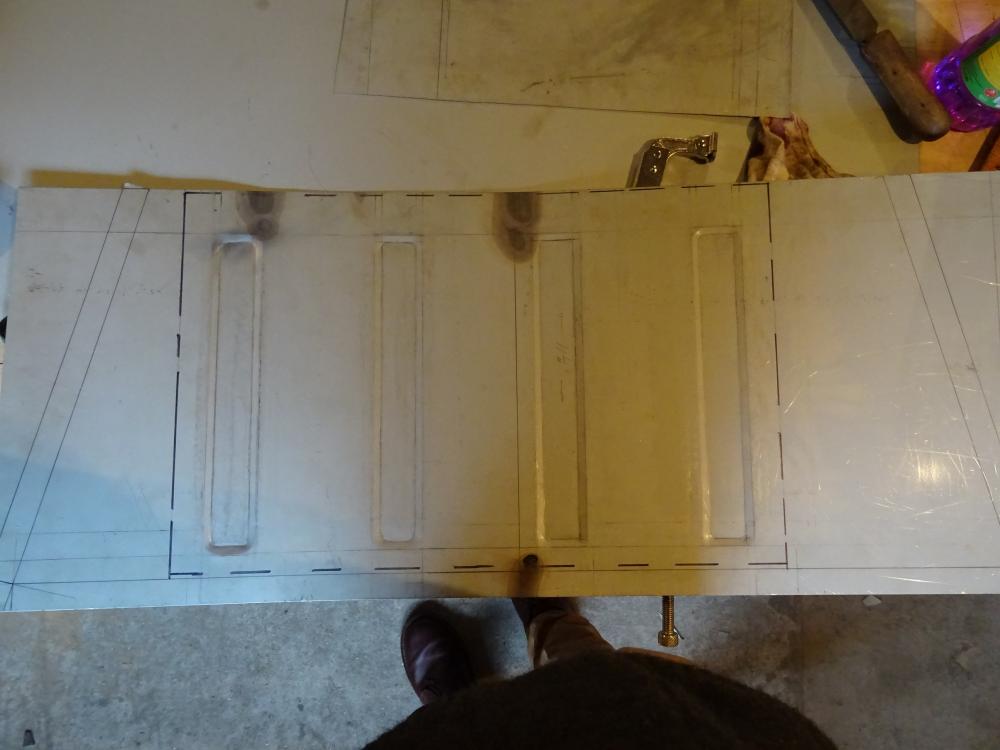
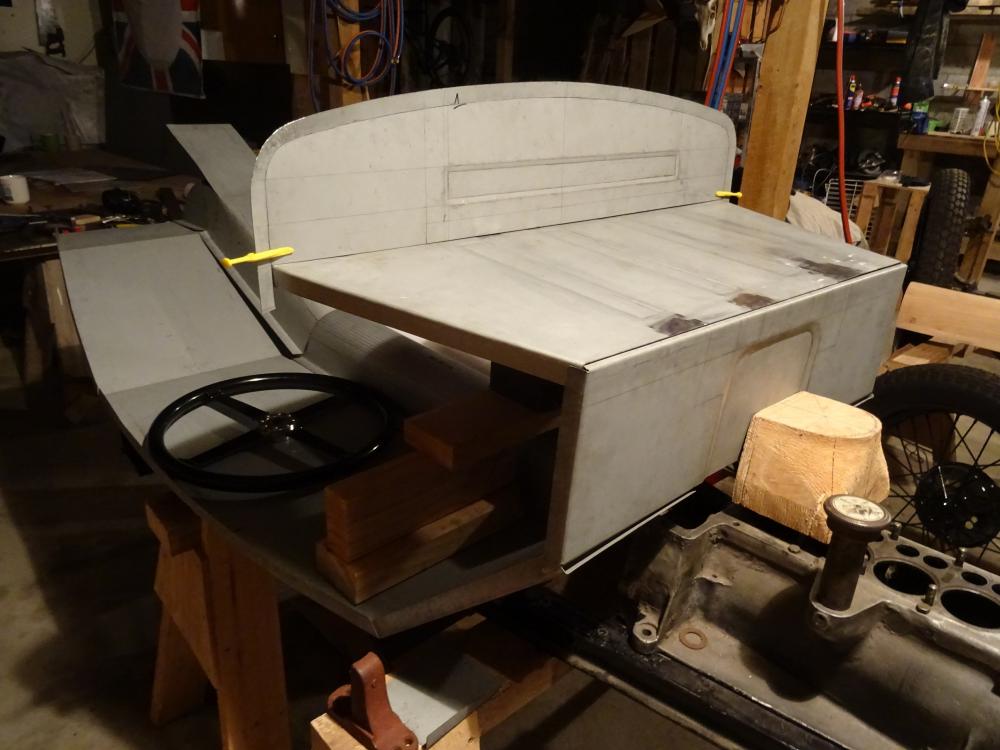
You can see the heat marks were I hot shrunk the metal.
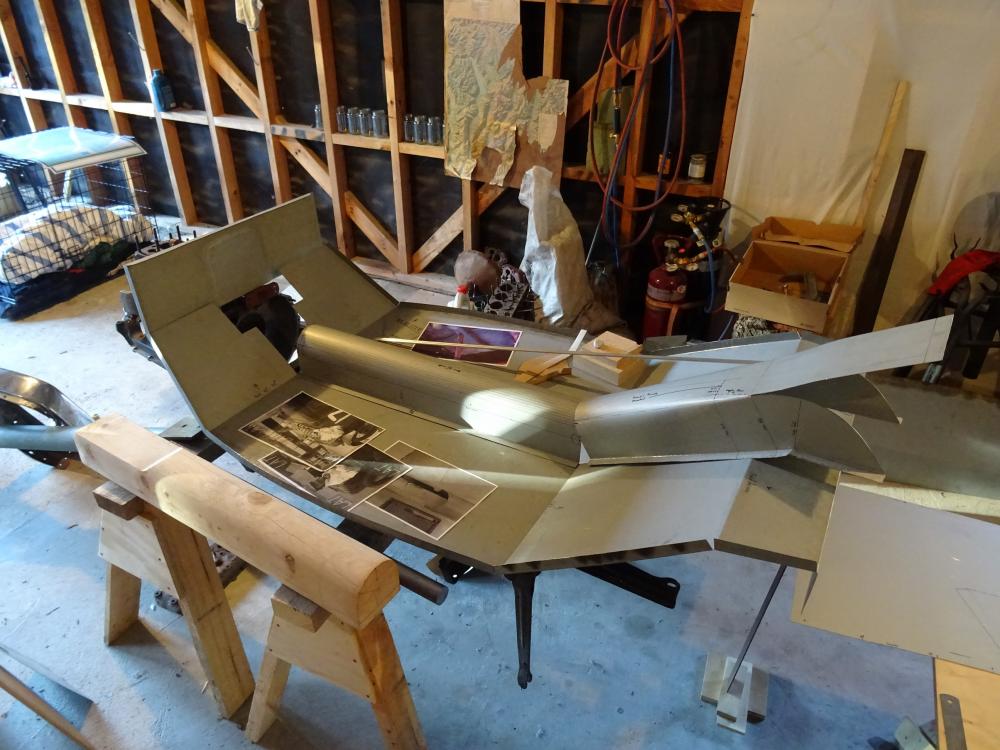
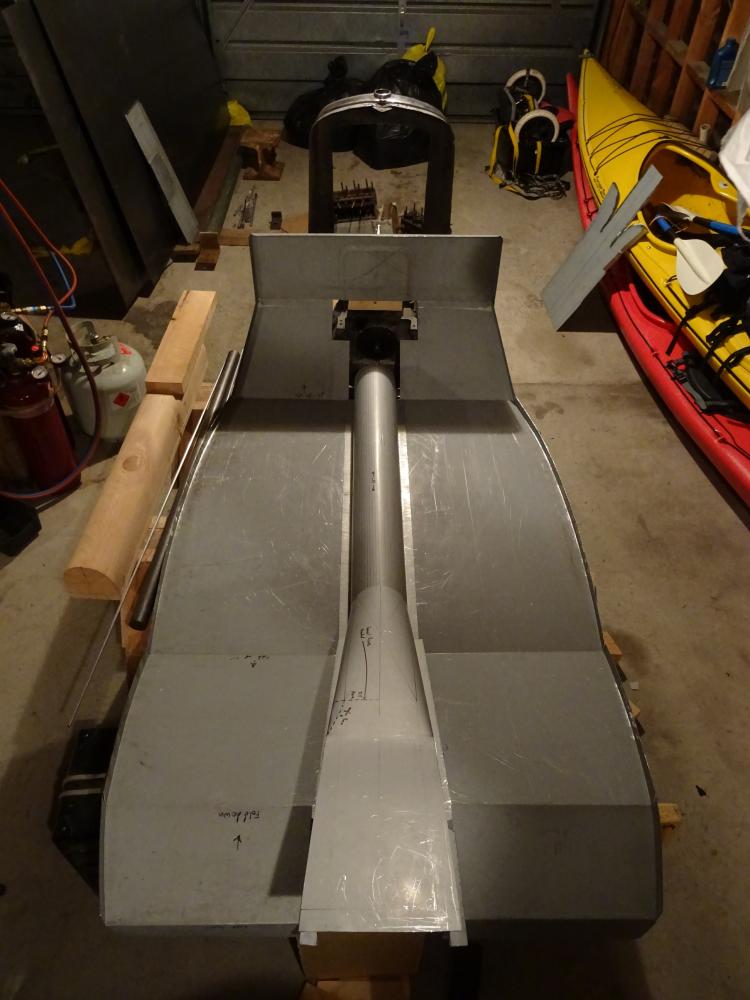
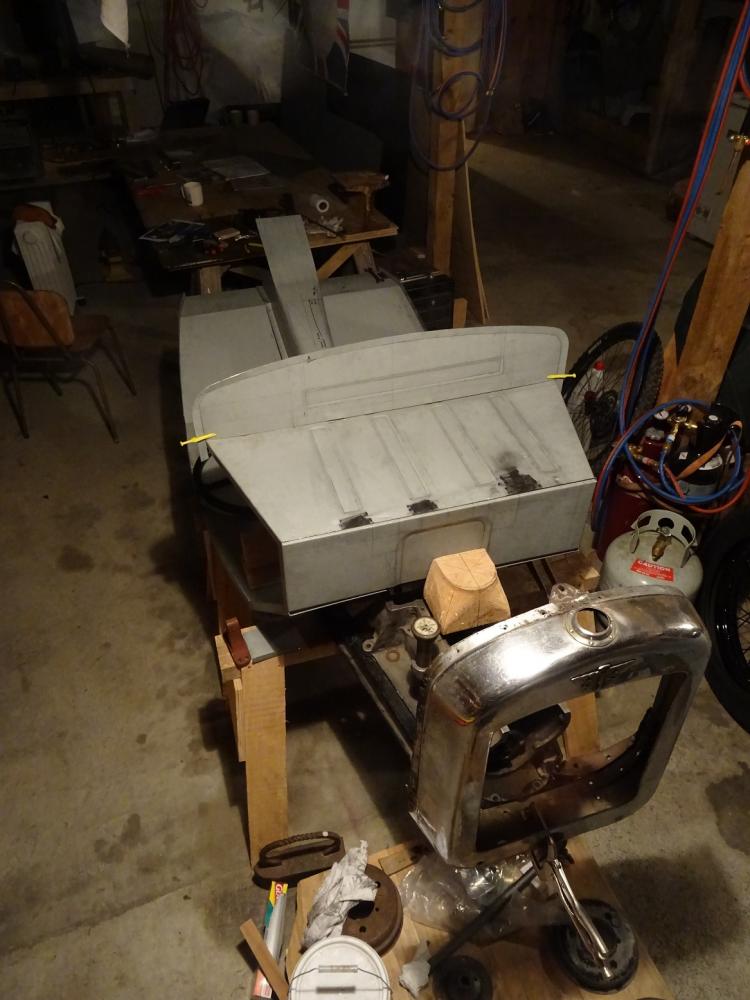
With the main lot of panels that make up a Ulster floor pan more or less finished, I did a dry run for fit. The photos bellow are more less the current state. The next steps are to finish the floor pan proper and then start the wooden buck. In the mean time I have to figure out some more details and do some number crunching.


The next stage was practicing my swaging and getting a convincing result for the front of the fire wall and the top.
Above photo shows the top of the fire wall measured, cut out and swaging lines drawn on. This is where the petrol tank sits of course.
Next, the panel is clamped down and the 2mm thick steel guide is placed underneath the sheet. This follows the outside line of the swage. Its all a bit hard to see, but it makes sense in the end...
Once that is all done, you hammer along the inside line with an appropriate tool... in this case, a piece of flat bar with a edge put on. This drives the metal down and forms the "step" in the metal. You then follow the shape you have drawn, forming the full pressing.
Things are going well and dandy I thought.... but all of a sudden, my once dead flat panel is on the piss. Its all over the place and not looking to healthy. This warping factor increases with each new swage and is a result of uneven stretching. The best way I found to sober things up, was to hot shrink the problem areas. However once the rest of the panels edges were lifted general flatness returned. I should note that this took multiple goes and three failed cock ups on finished panels. You never get it right first time...
You can see the heat marks were I hot shrunk the metal.
With the main lot of panels that make up a Ulster floor pan more or less finished, I did a dry run for fit. The photos bellow are more less the current state. The next steps are to finish the floor pan proper and then start the wooden buck. In the mean time I have to figure out some more details and do some number crunching.


